To treat lower back pain at home, follow these tips:
- Keep Moving: Light exercise like walking can actually help ease back pain.
- Use Ice or Heat: Ice for new injuries to reduce swelling; heat for more chronic pain to relax muscles.
- Try Simple Yoga Poses: Poses like Child’s Pose or Cobra Pose can help stretch and relax your back muscles.
- Stress Management: Deep breathing and meditation can help relieve muscle tension caused by stress.
- Adjust Your Workspace: Make sure your chair, desk, and computer setup support good posture.
Remember, if the pain persists or is severe, consult a healthcare professional.
Get Up and Move
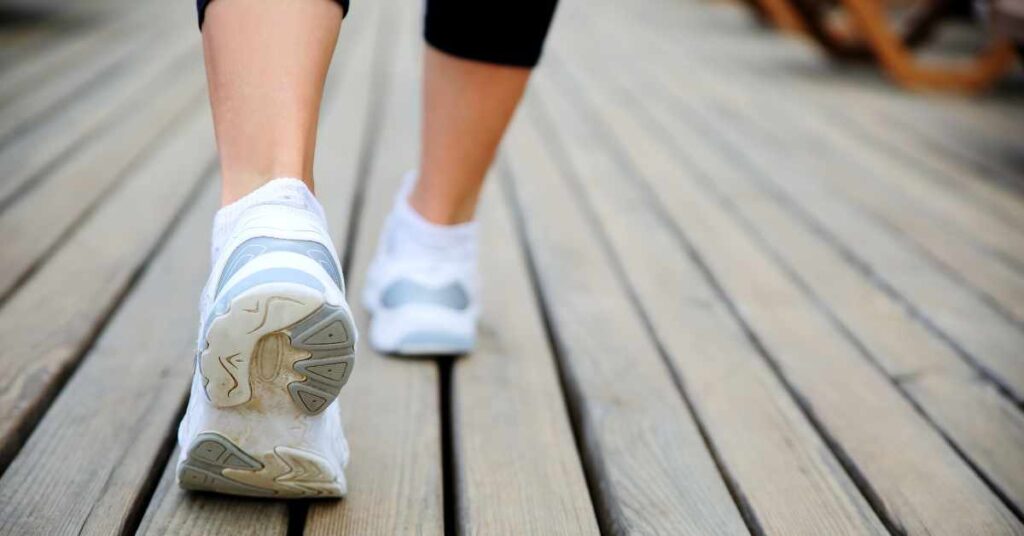
My buddy Steve used to lay on the couch all day when his back hurt, thinking that was the best way to heal. But his doctor told him that was actually making it worse. The doc advised him to go on light walks, and surprisingly, it helped relieve his back pain. The idea is that when you move around, your muscles warm up, and the movement might relieve some of the tension causing the pain.
Step-by-Step:
- Start with a slow 5-minute walk around your house or neighborhood.
- Gradually increase the time and distance as you feel more comfortable.
- But remember, don’t push yourself too hard; take baby steps.
Ice or Heat
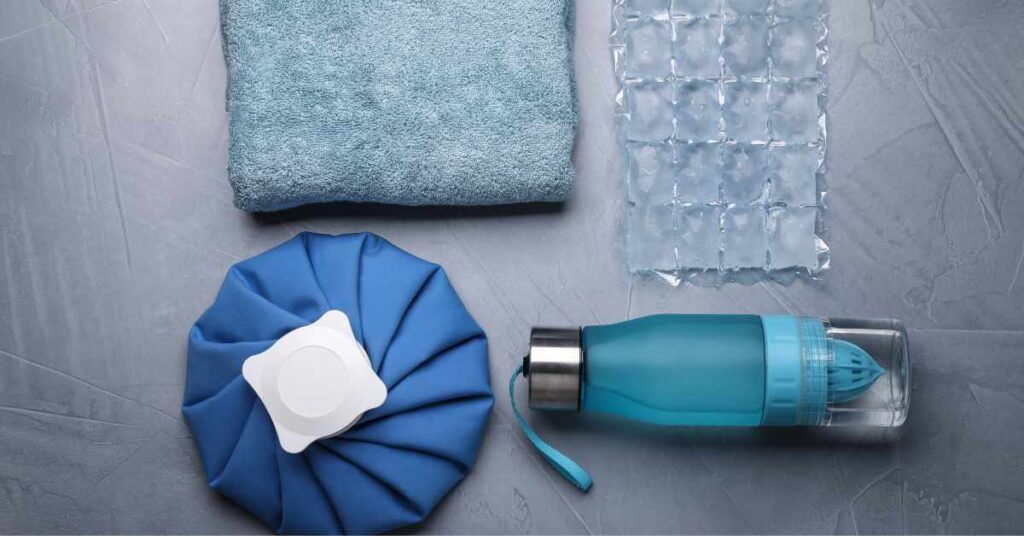
My aunt swears by cold packs for initial back pain. She says it helps with the swelling. Once the swelling goes down, she switches to a hot water bag.
Step-by-Step:
- Use an ice pack wrapped in a towel for the first 48 hours for about 15-20 minutes.
- After two days, switch to heat. You can use a hot water bag or take a hot bath for 15-20 minutes.
When To Use Cold And Heat Therapies For Back Pain?
Yoga Time
My sister is into yoga, and she taught me the Child’s Pose when I was dealing with back pain. It felt great, and it’s simple to do.
Step-by-Step:
- Start on all fours on a mat or towel.
- Move your knees apart and touch your big toes together.
- Lower your torso between your knees, and extend your arms in front.
- Hold for 2-3 deep breaths, then go back to the starting position.
Quick Stretches
When I had lower back issues, I found the Superman pose easy and effective.
Step-by-Step:
- Lay on your stomach with your arms and legs extended.
- Lift your arms and legs a few inches off the ground.
- Hold the position for a few seconds, then lower back down.
Stress Management
My coworker Tim uses deep breathing to deal with his back pain, especially when stressed. He takes a few minutes to just breathe deeply, and it seems to work wonders for him.
Step-by-Step:
- Sit or lie down in a comfortable position.
- Close your eyes and take deep, slow breaths, inhaling through the nose and exhaling through the mouth.
- Do this for about 2-3 minutes.
Workspace Tweaks
When I was working from home, my back was killing me. Then I realized my chair was the problem. Changing my chair and making some adjustments to my workspace helped a lot.
Step-by-Step:
- Adjust your computer monitor so it’s at eye level.
- Keep your feet flat on the floor and your back against the chair.
- Every 30 minutes, stand up, stretch a little, or take a short walk.
Remember, everyone’s body is different. What works for one person might not work for you. Always consult with your healthcare provider for proper diagnosis and treatment.
That’s my two cents based on personal testimonials and experiences. Hope it helps!
Can Flexobliss Help With Back Pain?
Additional Tips
Cat-Cow Pose
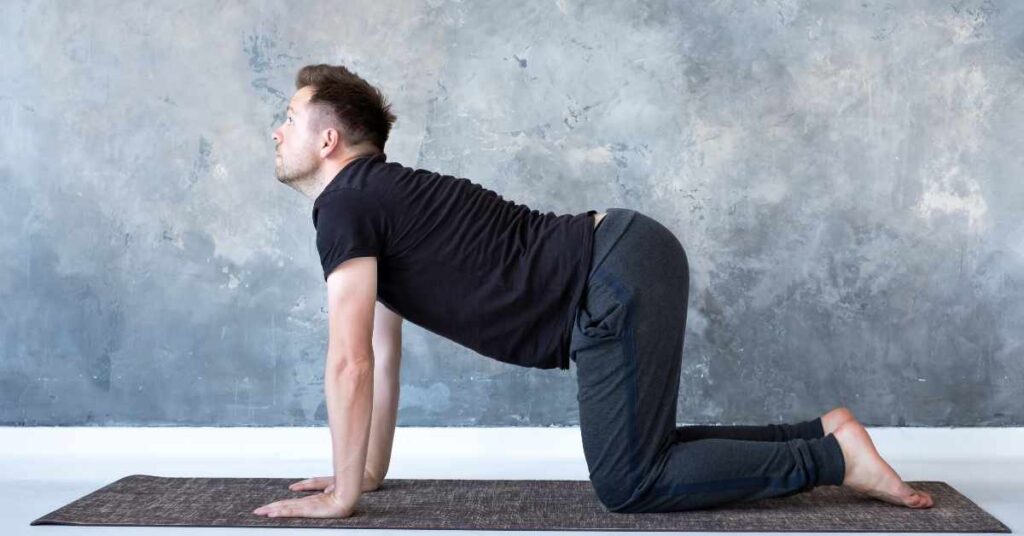
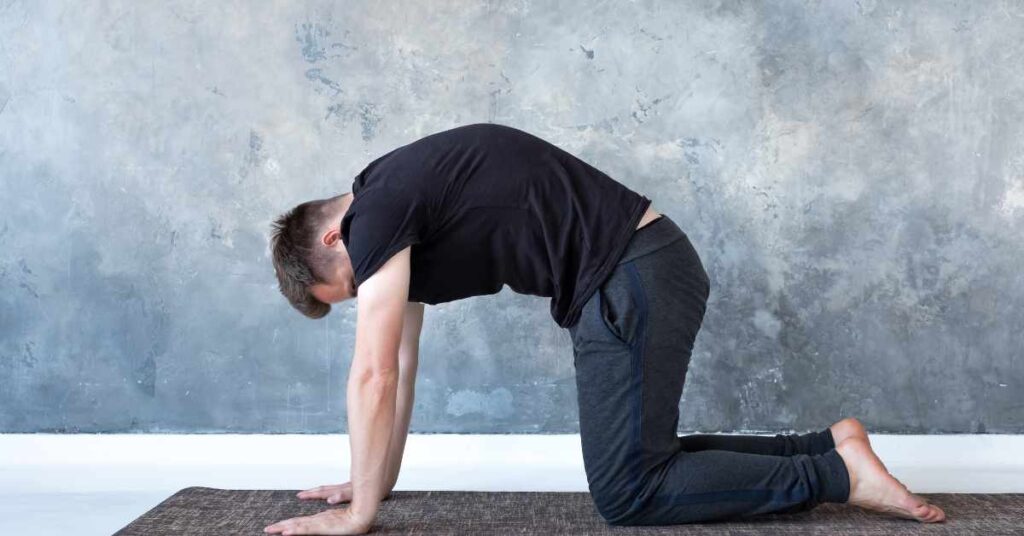
The Cat-Cow Pose is a classic yoga move that many people find helps with back pain by stretching and loosening the spine. Here’s how you do it step-by-step:
Equipment Needed:
- Yoga mat or a soft, flat surface (even a carpet will do)
Step 1: Start in Tabletop Position
- Get on all fours on your mat.
- Your hands should be directly under your shoulders, and your knees should be directly under your hips.
Step 2: Find Your Neutral Spine
- Before you start, make sure your back is flat, and your neck is a natural extension of your spine. This is your ‘neutral’ position.
Step 3: Move Into Cat Pose
- Inhale deeply, and as you exhale, arch your back towards the ceiling like a cat stretching.
- Tuck your chin towards your chest, letting your neck release. This is the ‘Cat’ part of the pose.
Step 4: Transition into Cow Pose
- As you inhale, lower your belly towards the floor, lifting your head and tailbone towards the ceiling. Imagine a string is pulling your head and tailbone up.
- This is the ‘Cow’ part of the pose.
Step 5: Flow Between Cat and Cow
- The idea is to flow smoothly between the Cat and Cow positions.
- Exhale as you arch your back into a Cat, and inhale as you lower your belly into a Cow.
- Continue this movement for 8-10 cycles or as long as it feels good.
Step 6: Return to Neutral Spine
- After you’ve finished your cycles, come back to the tabletop position with a flat back.
Tips:
- Make sure to engage your abdominal muscles as you move through the poses.
- If you have any knee problems, you might want to place a towel under your knees for cushioning.
Cobra Pose step-by-step
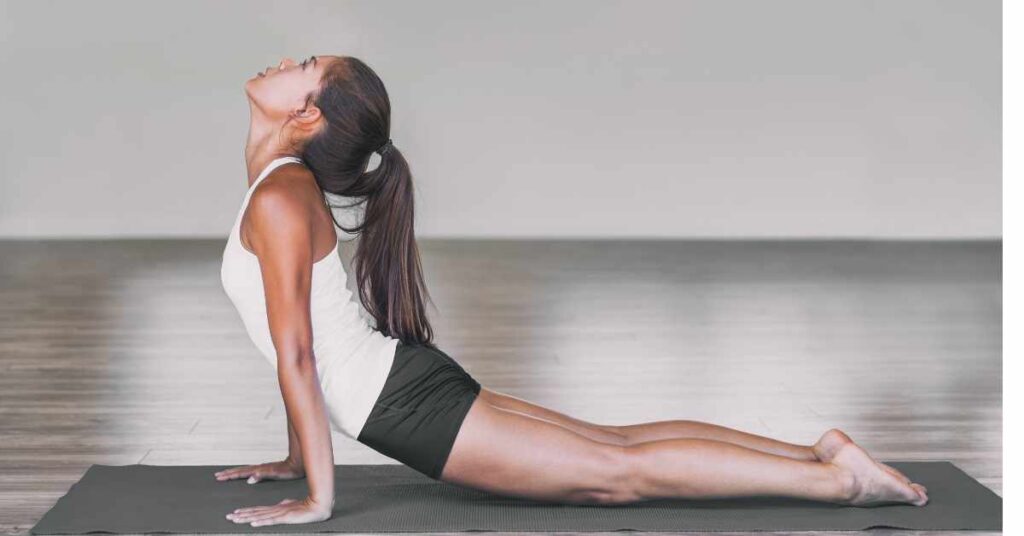
This is a yoga stretch that helps extend your spine, offering a nice stretch for your back.
What You’ll Need:
- A yoga mat or a soft, flat surface to lie on.
Step 1: Get Into Starting Position
- Lie down flat on your stomach.
- Place your hands beside your shoulders, palms facing down.
Step 2: Position Your Legs
- Extend your legs straight back, feet hip-width apart.
- Press the tops of your feet and your thighs into the floor or mat.
Step 3: Prepare Your Arms
- Spread your fingers wide on the mat beside your shoulders.
- Keep your elbows tucked close to your body.
Step 4: Start to Lift
- Inhale and start to straighten your arms.
- Lift your chest off the floor, but make sure not to push so hard that you strain your back.
- Your lift should mainly come from your back muscles, not just from pushing with your arms.
Step 5: Get Into Cobra Pose
- Keep lifting your chest until your arms are straight, or as straight as is comfortable for you.
- Make sure your hips are still touching the floor.
- Lift your chin slightly and point the top of your head towards the ceiling.
Step 6: Hold the Pose
- Hold this position for about 15-30 seconds, or whatever feels comfortable for you.
Step 7: Lower Down
- Exhale as you gently lower your chest and forehead back down to the mat.
Step 8: Relax
- Take a moment to relax. You can turn your head to one side and rest your arms beside your body.
Some Tips:
- Don’t overextend. It’s better to feel a mild stretch than to push too hard and hurt yourself.
- If you feel any sharp pain, stop immediately.
- You can adjust the pose to make it more comfortable for you. For instance, if straightening your arms feels too intense, you can keep your elbows bent to lessen the stretch.
My buddy Tom, who has a desk job, swears by the Cobra Pose. He says it really helps him stretch out the stiffness in his lower back after a long day of sitting. He even does a quick Cobra Pose during his lunch break sometimes, and it helps him get through the afternoon without that nagging back pain.
Child’s Pose
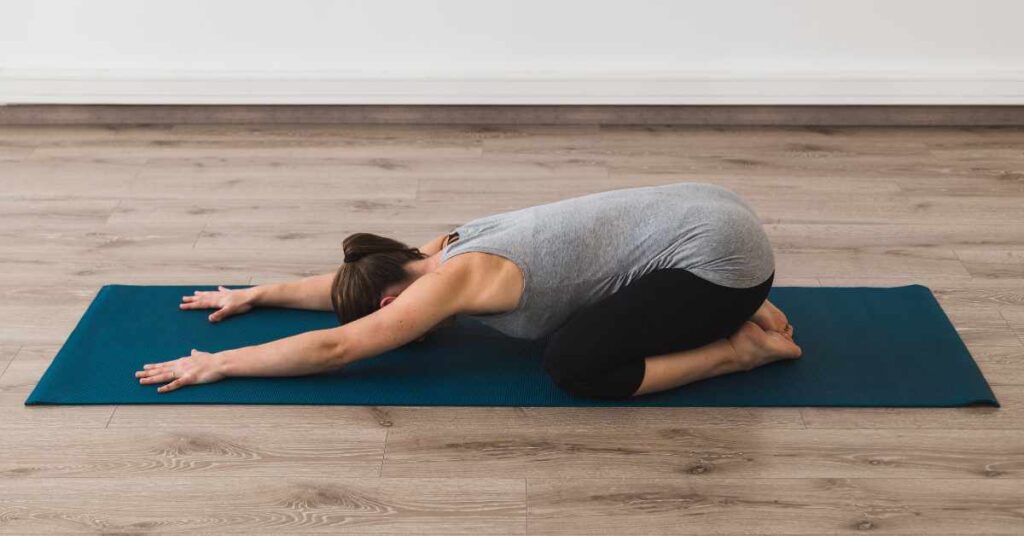
Child’s Pose, also known as “Balasana” in yoga. This is a go-to stretch for many people to relax and relieve tension in the back. It’s super easy, and you don’t need to be a yoga pro to do it.
What You’ll Need:
- A yoga mat or a soft surface like a carpet to cushion your knees and head.
Step 1: Sit Down
- Start by sitting on your heels.
- Keep your knees hip-width apart and your feet together behind you.
Step 2: Position Your Hands
- Rest your hands on your thighs, palms facing down.
Step 3: Start Leaning Forward
- Begin to lean your torso forward, moving your hands off your thighs and onto the floor in front of you.
Step 4: Lower Your Upper Body
- Continue leaning forward until your forehead touches the floor.
- Extend your arms out in front of your head, palms facing down on the floor.
Step 5: Stretch
- You should feel a stretch along your back and maybe even down the sides of your torso.
- You can also “walk” your fingertips forward a bit to get a deeper stretch in your back.
Step 6: Hold the Pose
- Stay in this position for anywhere from 30 seconds to a few minutes, whatever feels good for you.
Step 7: To Come Out of the Pose
- Begin to lift your forehead off the floor.
- Use your hands to help push yourself back up to the sitting position where you started.
Step 8: Relax
- Sit back on your heels for a moment, taking a few deep breaths.
Some Tips:
- If your forehead doesn’t reach the floor, you can use a pillow or folded towel for support.
- If it’s uncomfortable to sit on your heels, you can place a cushion between your thighs and calves.
Conclusion
Lower back pain might be a common issue, but it doesn’t have to take over your life. From something as simple as changing your posture at work, to incorporating easy stretches or yoga poses into your routine, there are various ways to find relief right at home. While everybody is different, these tips offer a good starting point to ease discomfort. Remember, if you’re dealing with persistent or severe back pain, consulting a healthcare professional is always the safest route. So, the next time your back starts nagging at you, don’t just grimace and bear it—try some of these at-home strategies to give your back the relief it needs.
