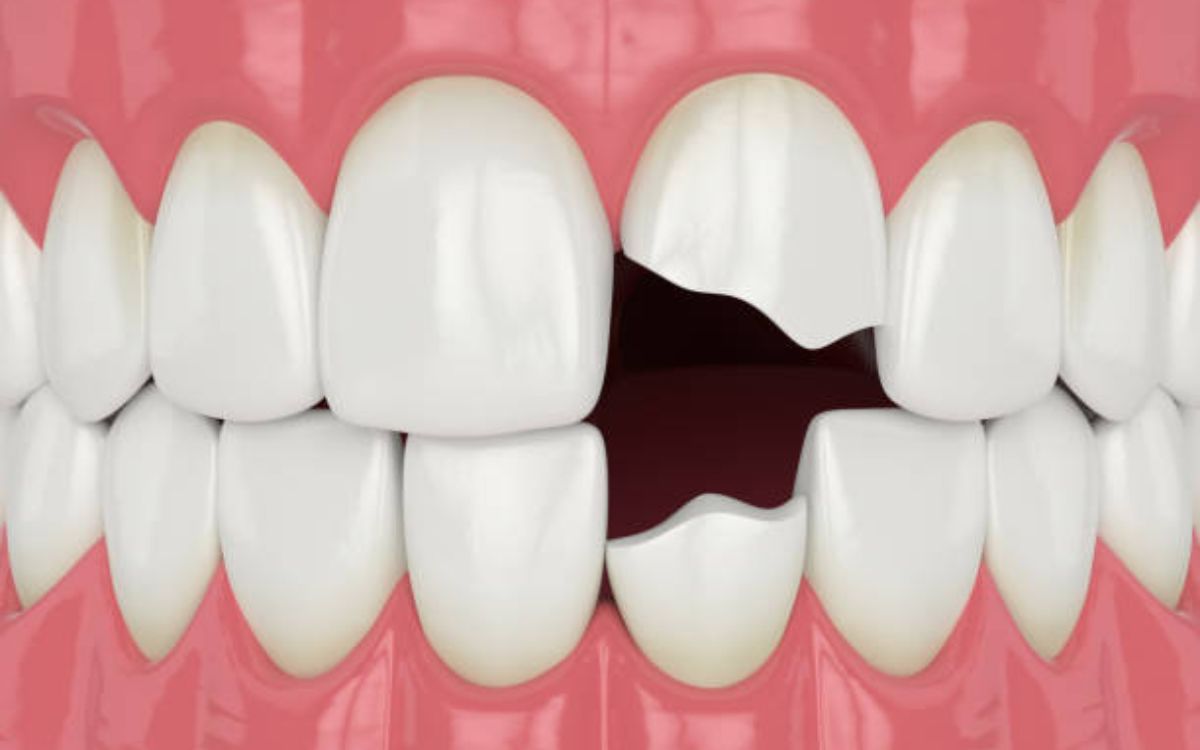
You bit down on something hard. You had a small accident. Now you feel it with your tongue. A rough edge. A piece missing. A chipped tooth. It is a shocking feeling. First, do not panic. You need a safe, temporary solution until you see a dentist. This article will show you how to fix a chipped tooth at home temporarily.
This is a crucial guide for emergency situations. Remember, these are temporary fixes. They are not permanent solutions. A dentist must examine any tooth damage. But these steps can protect your tooth and reduce pain right now.
First Things First: Immediate Actions After a Chip
Do not ignore a chipped tooth. Acting quickly prevents more problems. Follow these steps immediately.
1. Rinse Your Mouth. Use warm water. Do this gently. The goal is to clean the area without causing more damage. Warm water helps remove debris and blood.
2. Control any Bleeding. If there is bleeding, apply pressure. Use a piece of clean gauze. Hold it on the area. Do this for about ten minutes or until the bleeding stops.
3. Reduce Swelling. Swelling is common. Apply a cold compress to the outside of your cheek. Use an ice pack wrapped in a cloth. Do this for 15 minutes on, then 15 minutes off. This reduces swelling and numbs the pain.
4. Save any Pieces. If you found a piece of the tooth, save it. Rinse it gently with water. Place it in a small container with milk or saliva. A dentist might be able to reattach it. Do not try to glue it back on yourself.
5. Assess the Damage. Look in a mirror. How bad is the chip? Is it a small, rough edge? Or is a large piece missing? Is the inner pulp exposed? This will determine your next step.
Understanding Your Chip: Is It a Minor or Major Problem?
Not all chips are the same. Your temporary fix depends on the type of chip.
-
Minor Chip: You only feel a rough edge on your tooth. There is no sharp pain. The inner nerve (pulp) is not exposed. This is the easiest type to manage temporarily.
-
Moderate Chip: A larger piece is missing. The tooth might feel sensitive to air, hot, or cold. The dentin (the yellow layer under the white enamel) might be visible. This needs careful covering.
-
Severe Chip: A large portion of the tooth is gone. You might see a pinkish area or even blood inside the tooth. This means the pulp is exposed. This is a dental emergency. You need to see a dentist immediately. Pain will be intense.
Important Note: If the nerve is exposed, every temporary fix will likely cause pain. The goal is to cover it gently and see a dentist as soon as possible.
Temporary Fixing a Chipped Tooth at Home: Your Options
Now, let’s explore the temporary methods. These solutions are for short-term use only. They will protect your tongue from cuts and reduce sensitivity.
1. Dental Wax: The Best Temporary Cover
Dental wax is a top choice. Orthodontists give it to patients with braces. It prevents cuts from wires. You can use it for a chipped tooth.
How to use it:
-
First, buy dental wax from any pharmacy. It is cheap and easy to find.
-
Then, clean the chipped tooth area. Rinse with warm water.
-
Next, dry the area with a cotton ball. The wax needs a dry surface to stick.
-
After that, take a small piece of wax. Roll it into a tiny ball.
-
Finally, press the wax ball firmly over the rough or sharp edge of the chip. Mold it to cover the area completely.
Why it works: It creates a smooth barrier. This protects your tongue and cheek. It also seals out air and food, reducing sensitivity.
2. Temporary Tooth Filling Kits: A Stronger Solution
You can buy temporary filling material at a pharmacy. Brands like Dentemp are common. This kit provides a putty-like material. It fills the missing part of the tooth.
How to use it:
-
Read the instructions carefully. Every kit is slightly different.
-
Clean and dry the tooth thoroughly.
-
Mix the compound as directed.
-
Apply the material to the chipped area. Fill the gap.
-
Bite down gently to shape it to your tooth’s natural form.
-
Let it set completely before eating or drinking.
Why it works: This is a more substantial fix than wax. It can restore the tooth’s shape for a short time. It protects the sensitive inner layers effectively.
3. Sugar-Free Gum: An Emergency Hack
No wax or kit? Use sugar-free gum. This is a true last-resort option.
How to use it:
-
Chew a piece of sugar-free gum until it is soft.
-
Do not use gum with sugar. Sugar will cause pain if the nerve is exposed.
-
Dry the chipped tooth with a cotton ball.
-
Press the soft gum over the chipped area. Cover the sharp edge.
Why it works: It provides a soft, temporary barrier. It is better than nothing. But it is not a good long-term solution. It can fall out easily.
What You Should NEVER Use
Some internet advice is dangerous. Never use these products:
-
Super Glue: This is toxic. It is not for internal use. It can cause tissue damage and severe inflammation. It will also make a future professional repair very difficult.
-
Household Cement or Putty: These products contain chemicals. They are poisonous if ingested.
-
DIY Fillings: Do not use anything not designed for dental use.
Using these products can cause an infection. They can lead to the loss of your tooth. The repair will be much more expensive later.
Managing Pain and Discomfort
A chipped tooth often hurts. You need to manage the pain until your dental appointment.
-
Over-the-Counter Pain Relievers: Use ibuprofen or acetaminophen. Follow the dosage instructions on the bottle. These reduce inflammation and pain.
-
Salt Water Rinse: Mix half a teaspoon of salt in a glass of warm water. Swish it gently around your mouth. Do this two or three times a day. Salt water is a natural disinfectant. It soothes inflamed gums.
-
Avoid Triggers: Is the tooth sensitive to hot, cold, or sweet things? Avoid them. Drink room-temperature beverages. Eat soft, bland foods.
-
Clove Oil: This is a traditional remedy. It contains eugenol, a natural anesthetic. Dip a cotton ball in clove oil. Place it gently on the sore gum near the tooth for a few seconds. Do not put it directly on a broken nerve.
Protecting Your Temporary Fix
You have applied a temporary cover. Now you must protect it.
-
Eat Soft Foods: Stick to soups, yogurt, mashed potatoes, and smoothies.
-
Avoid Chewing on That Side: Use the other side of your mouth.
-
Do Not Eat Sticky or Hard Foods: Candy, nuts, and hard bread can dislodge your temporary fix.
-
Be Gentle When Brushing: Brush carefully around the area. Use a soft-bristled toothbrush.
The Most Important Step: Seeing a Dentist
All these methods are temporary. The real solution comes from a professional. You must see a dentist. Explain what happened. Tell them about your temporary fix.
A dentist has permanent solutions:
-
Dental Bonding: For small chips, a dentist uses a tooth-colored resin. They bond it to the tooth and shape it. It looks natural.
-
Veneer: A thin shell of porcelain covers the front of the tooth. This is for more cosmetic chips.
-
Dental Crown: A cap that fits over the entire tooth. This is for large chips or weakened teeth.
-
Root Canal: Needed if the pulp is infected. After a root canal, the tooth usually gets a crown.
Conclusion: Safety First, Always
A chipped tooth is a common problem. It can feel shocking. But you can manage it safely. Now you know how to fix a chipped tooth at home temporarily. Use dental wax or a temporary kit. Avoid dangerous DIY glues. Manage your pain. Most importantly, call your dentist immediately.
These home fixes are a bridge. They connect your accident to professional care. They protect you from pain and further damage. Do not skip the dentist. A permanent fix is the only way to ensure your smile stays healthy and strong. Remember, knowing how to fix a chipped tooth at home temporarily is about safety and buying time, not avoiding the dentist