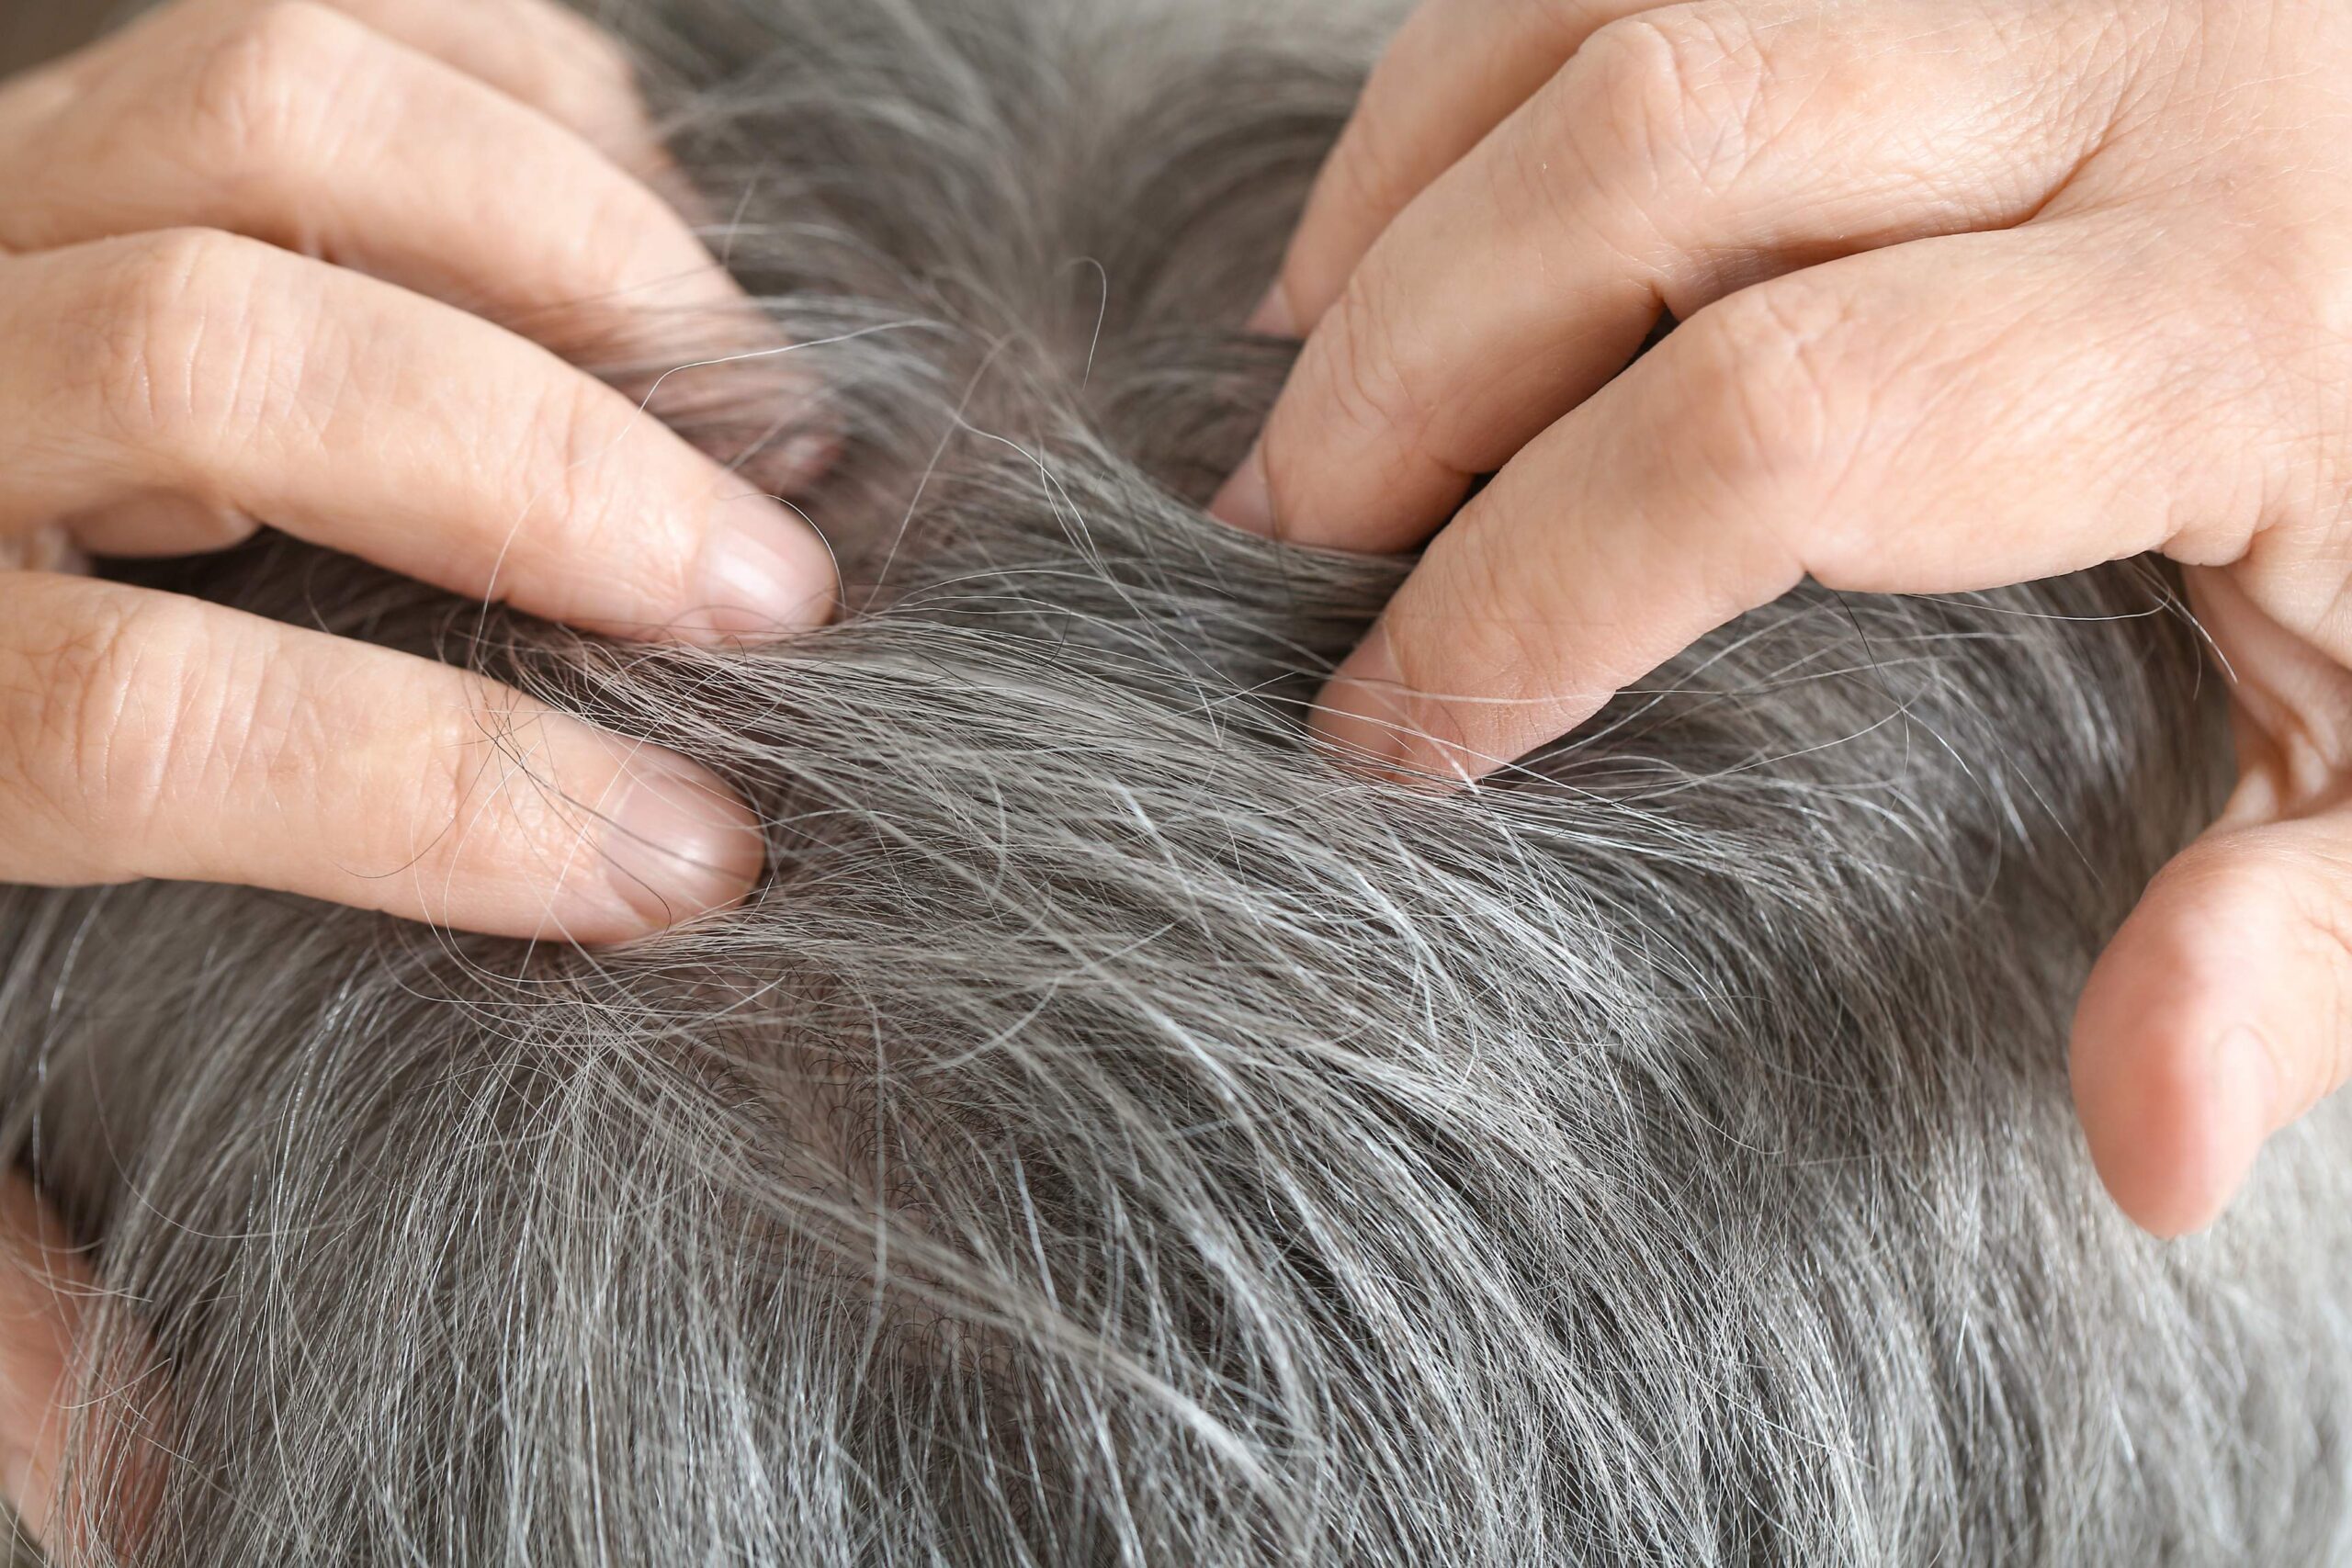
Embracing the natural silver and gray tones in your hair can be a liberating experience. It’s like wearing a crown of wisdom and experience on your head. But gray hair isn’t just about a change in color. Gray hair tends to be drier and coarser, so it’s essential to know how to keep it soft and moisturized.
Why is Gray Hair Different?
The presence of melanin, the pigment responsible for hair color, contributes not only to the shade of the strands but also to its moisture levels. As we age and produce less melanin, our hair gradually loses its color, turning gray or white. Along with this change, the hair’s ability to retain moisture diminishes. Plus, the frequent use of hair color can strip away its natural oils, leading to even drier tresses.
Steps to Moisturize Gray Hair
- Choose the Right Shampoo: Opt for shampoos that are sulfate-free. Sulfates can strip the hair of its natural oils, making it even drier. Instead, look for moisturizing shampoos that are specially formulated for gray or aging hair.
- Condition Every Time: Never skip the conditioner. It acts as a protective layer, helping retain moisture and giving your hair a smoother texture. For an extra boost, occasionally use a deep-conditioning treatment or hair mask.
- Cold Water Rinse: After shampooing and conditioning, rinse your hair with cold water. This helps close the hair cuticles, locking in the moisture.
- Use Hair Oils: Natural oils, like coconut oil or argan oil, can be a great way to nourish and moisturize gray hair. Warm a small amount in your palms and apply it to the ends of your hair, avoiding the roots. Leave it in for an hour or overnight, then shampoo as usual.
- Reduce Heat Styling: Overuse of heat styling tools like flat irons, curling wands, and hair dryers can further dry out your hair. When you do use them, apply a heat protectant beforehand.
- Avoid Overwashing: Washing your hair daily can strip it of its natural oils. Instead, try washing it every 2-3 days or even less frequently if you can.
- Stay Hydrated: Remember, hydration starts from within. Drink plenty of water to ensure both your body and hair get the moisture they need.
- Protect Your Hair: Sun, wind, and environmental pollutants can further dry out gray hair. When out in the sun, wear a hat or use hair products with UV protection.
While gray hair comes with its unique set of challenges, with the right care, it can look lustrous and beautiful. Embrace your grays and give them the love and moisture they deserve. The result? A gorgeous mane that’s soft, shiny, and full of life.
A Simple Guide to Using Lemon Juice or Apple Cider Vinegar for Your Gray Hair
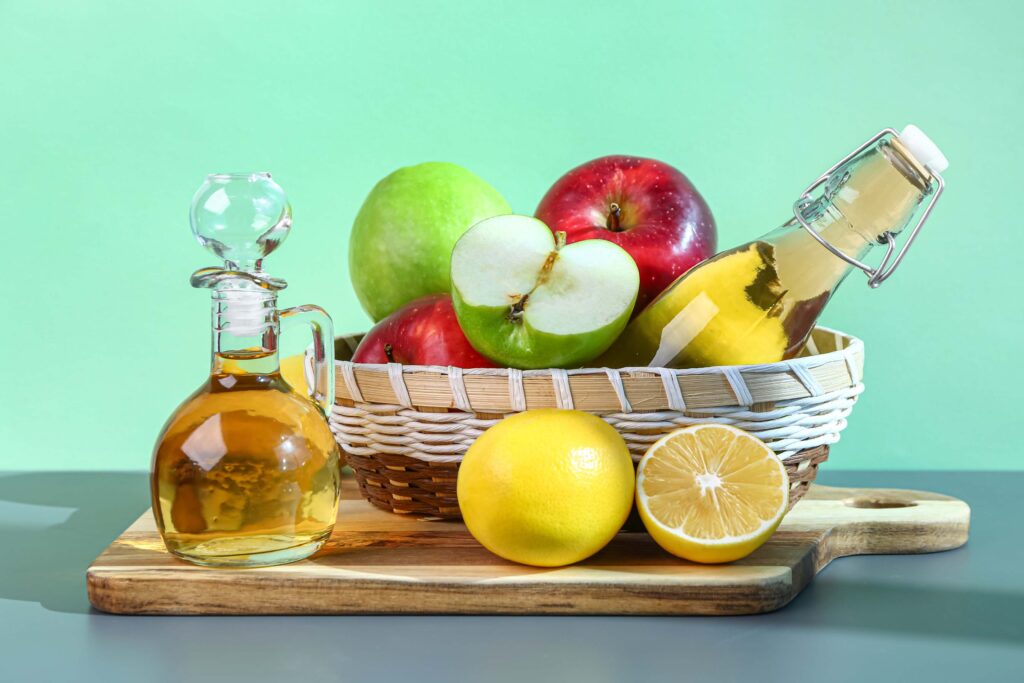
Lemon juice and apple cider vinegar aren’t just for your salads or cleaning tasks; they can also work wonders for your hair! You might be wondering, “Why would I put that on my hair?” Let’s break it down.
Why Lemon Juice and Apple Cider Vinegar?
Our hair is covered in tiny scales, much like the scales on a fish. These scales, called cuticles, lay flat when our hair is healthy and well-moisturized. But sometimes, they can open up due to various factors like heat styling, pollution, or use of harsh hair products. When these cuticles are open, our hair loses moisture easily, making it dry and dull.
This is where the magic of lemon juice and apple cider vinegar (ACV) comes in. These kitchen staples are acidic, which means they can help close those open cuticles, locking in the moisture. The result? Shinier, smoother, and more moisturized hair.
Step-by-Step Guide to Using Lemon Juice or Apple Cider Vinegar on Gray Your Hair:
Choose Your Ingredient:
- Lemon Juice: Freshly squeezed lemon juice is the best. You’d need about 1-2 lemons, depending on your hair length.
- Apple Cider Vinegar: Ensure it’s the natural, unfiltered kind with the “mother” – that’s the cloudy substance you see in the bottle. This contains beneficial enzymes and bacteria.
Prepare the Mix:
- Take a pitcher or a large bowl.
- For lemon: Squeeze the juice out of your lemons. You’ll need around 2-3 tablespoons of lemon juice.
- For ACV: Measure out 2-3 tablespoons.
- Now, add 1 cup of water to your chosen ingredient. Mix well. This dilution is essential as using pure lemon juice or ACV might irritate your scalp.
Wash Your Hair:
Before applying your mix, make sure your hair is clean. Shampoo as you normally would and rinse thoroughly.
It’s okay to apply conditioner before using the mix. If you do, rinse out the conditioner thoroughly.
Apply the Mix:
- Pour the diluted lemon juice or ACV mix over your hair slowly, ensuring it covers from the roots to the tips.
- Massage it gently into your scalp and hair. This not only ensures even coverage but also promotes blood circulation in the scalp, which is always a good thing!
Wait a Bit:
Leave the mix on for about 2-5 minutes. You don’t need to wait for long; these acidic ingredients act pretty fast.
Rinse Thoroughly:
Rinse your hair with cold water. Cold water is better as it helps close the cuticles further and adds an extra shine to your hair.
Dry and Style:
Dry your hair as you usually would, either air-drying or using a hairdryer on a cool setting. Then, style it as desired.
Frequency:
Given the acidic nature of these ingredients, you don’t want to overdo it. Using this treatment once a week is sufficient. It ensures you get the benefits without risking irritation or over-drying.
Some Extra Tips:
If you have particularly sensitive skin or any known allergies, it’s a good idea to do a patch test before applying the mix all over. Just dab a little on your wrist or behind your ear, wait for a few minutes, and rinse. If there’s no irritation, you’re good to go!
Remember, everyone’s hair is different. What works for one might not work for another. So, the first time you try this, pay attention to how your hair feels afterward. If it feels too dry, maybe use a bit less of the lemon juice or ACV next time.
Using lemon juice or apple cider vinegar can be a simple, natural, and effective way to boost the health and appearance of your hair. Not only are you locking in essential moisture, but you’re also giving your hair a natural shine without the use of any chemicals or expensive treatments. So, the next time you’re in the kitchen, remember that some of your ingredients aren’t just for cooking – they’re for fabulous hair too!
Does Restolin Really Work Or Just Another Scam?>>
Understanding Butter and Oils
When you hear “butter” and “oil”, your mind might instantly wander to the kitchen. Perhaps you’re thinking of cooking or preparing a salad dressing. However, these kitchen stars have another role that you might not have considered: they’re fabulous for your hair!
What’s the Big Deal with Butters and Oils?
Butter and oils, in the context of hair care, are like a refreshing drink of water for someone who’s been lost in a desert. When your hair feels like it’s parched, a little thirsty, and crying out for some TLC (Tender Loving Care), butter and oils are there to rescue it.
These natural moisturizers dive deep into your hair, quenching its thirst, and leaving it feeling soft, supple, and revitalized. They don’t just sit on the surface; they penetrate the hair strands, ensuring long-lasting hydration.
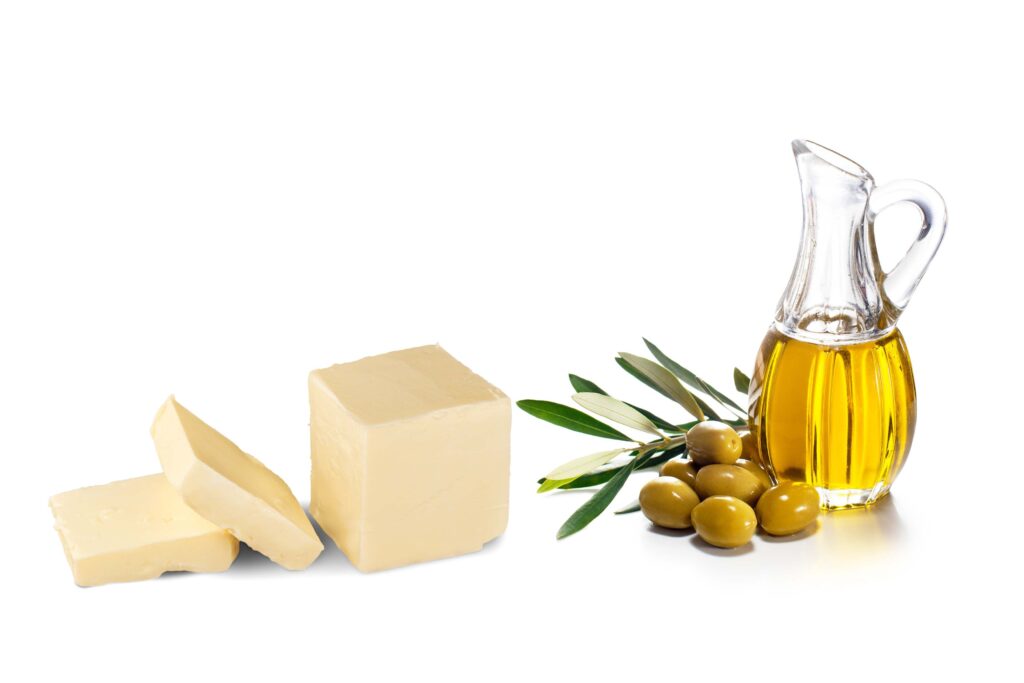
Meet the Hair’s Superheroes: Olive Oil, Shea Butter, and Coconut Oil
- Olive Oil: This isn’t just for drizzling over your pasta. Olive oil, derived from those little green olives, can make your hair shine bright and feel silky smooth. It’s like giving your hair a luxurious spa treatment but without the hefty price tag.
- Shea Butter: Ever touched a cloud? Shea butter might be the closest thing to it. Extracted from the nut of the shea tree, this creamy wonder wraps your hair in a velvety embrace, taming frizz and making curls pop.
- Coconut Oil: A tropical treat for your tresses! Coconut oil does a little bit of everything: hydrating, reducing breakage, and even fighting off those pesky flakes of dandruff. Plus, it smells like a beach holiday!
But, How Do You Use Them?
Drenching your hair in oils and butters sounds tempting, especially if it’s really dry. But, as with all things in life, there’s an art to it.
- Less is More: Imagine putting on perfume. A dab here and there is enchanting, but too much can be overpowering. The same goes for these natural moisturizers. Begin with a small amount – a few drops of oil or a dollop of butter. You can always add more if needed.
- The Ends Justify the Means: Your hair tips, the ends, are the oldest and often the driest part of your hair. They’ve been through a lot! When applying, start there and work your way up. Keep the roots mostly free, especially if you’ve got an oily scalp.
- Warm It Up: Some butters, like our friend shea, can be a bit solid. To make them glide effortlessly, warm them up between your palms first.
- Clean Up: While oils and butters are great moisturizers, they can leave behind a residue that might make your hair feel greasy. Imagine having a protective shield around your hair – that’s great for keeping the moisture in but might make your hair feel heavy. So, after letting them sit in your hair for a while, give your hair a good wash to get rid of any excess.
How To Keep My Hair Healthy And Strong: 37 New Tips>>
A Few Parting Words
In our quest for perfect hair, nature provides some of the best solutions. Butters and oils are gifts from Mother Earth, ensuring our locks remain lustrous and healthy. When using them, the key is balance. Too little might not give you the desired effect, and too much might weigh your hair down.
So, next time your hair feels a little under the weather, dry, or dull, remember the kitchen superheroes waiting to spring into action. Embrace them, and let your hair bask in their natural glory!