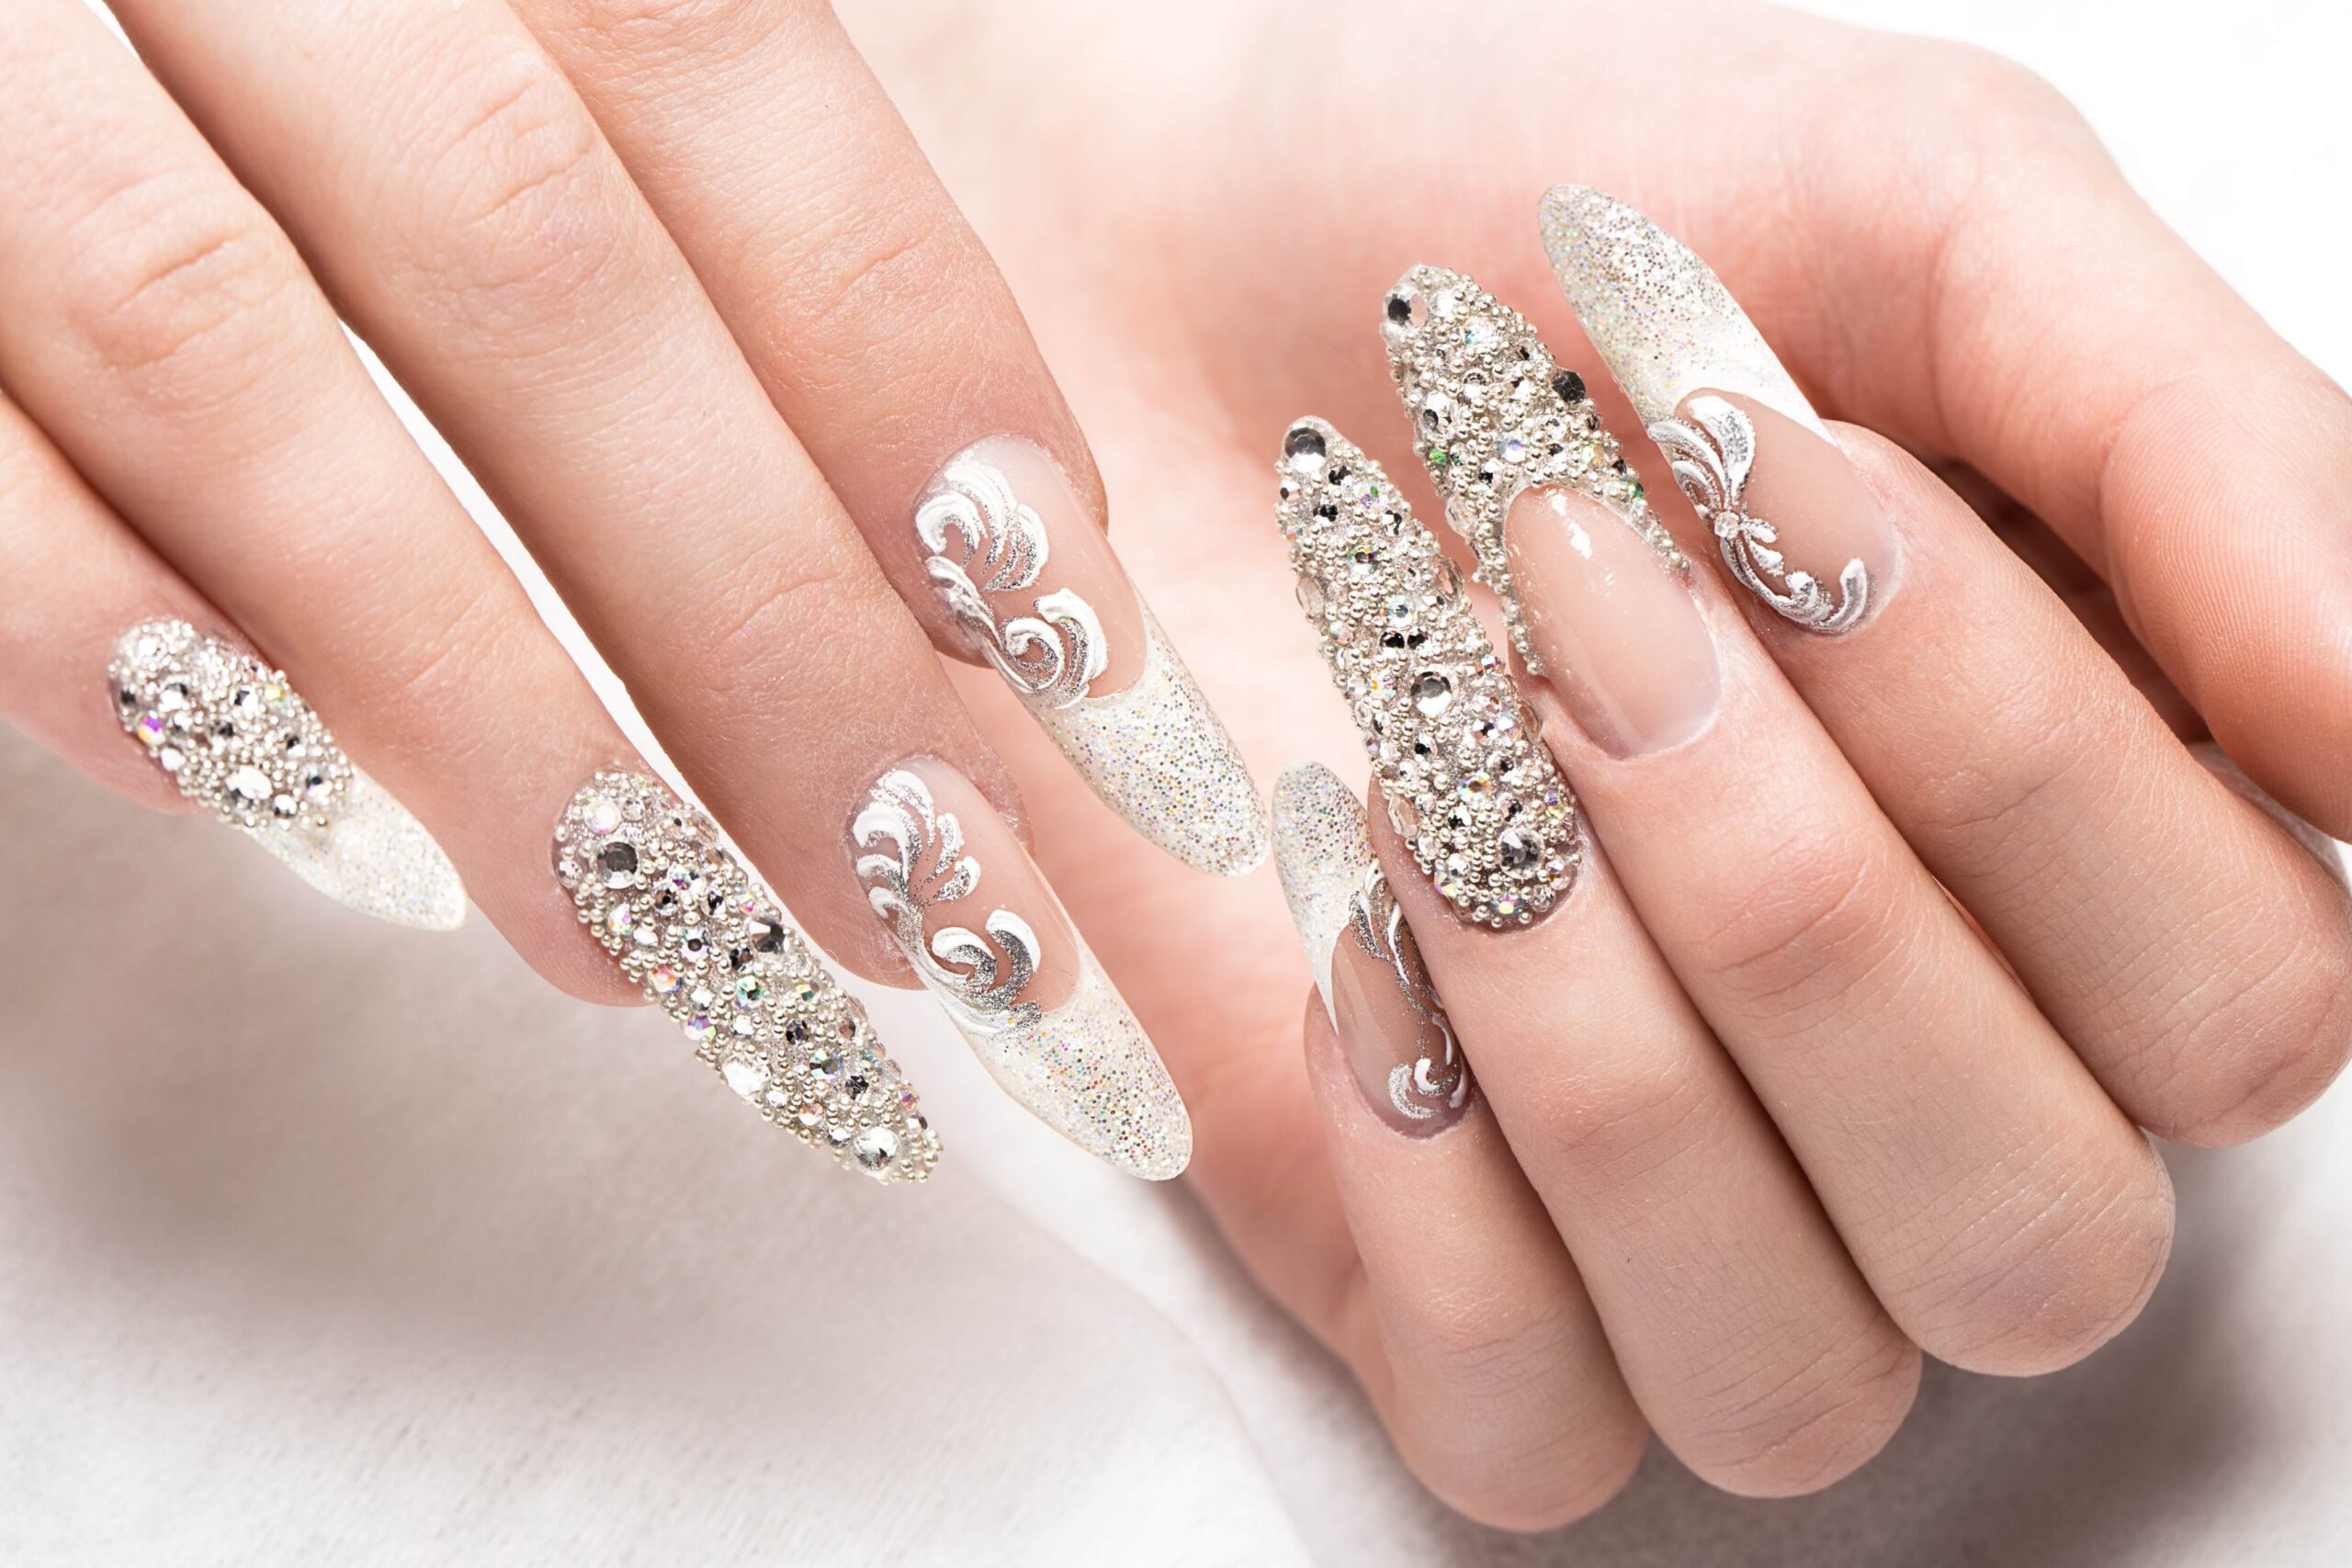
We all love to pamper ourselves once in a while, and getting acrylic nails can be a great way to feel fancy. But sometimes, these nails can bring discomfort or pain. Don’t worry! Here’s a simple guide to help you manage that pain and prevent it in the future.
Cold Compress: A Simple Guide
Imagine it’s a sunny day and you’ve just finished your favorite activity. Maybe it’s gardening, maybe it’s playing catch with your dog, or perhaps you’ve been trying out some new art on your nails. And suddenly, you feel a strange tightening sensation or discomfort around your nail beds. Ouch!
Just like in superhero movies, where every problem has a savior, in the world of minor injuries and discomforts, one of the unsung heroes is the Cold Compress. Let’s dive into the simple world of cold compresses, understand what they are, and learn how to use them effectively.
What is a Cold Compress?
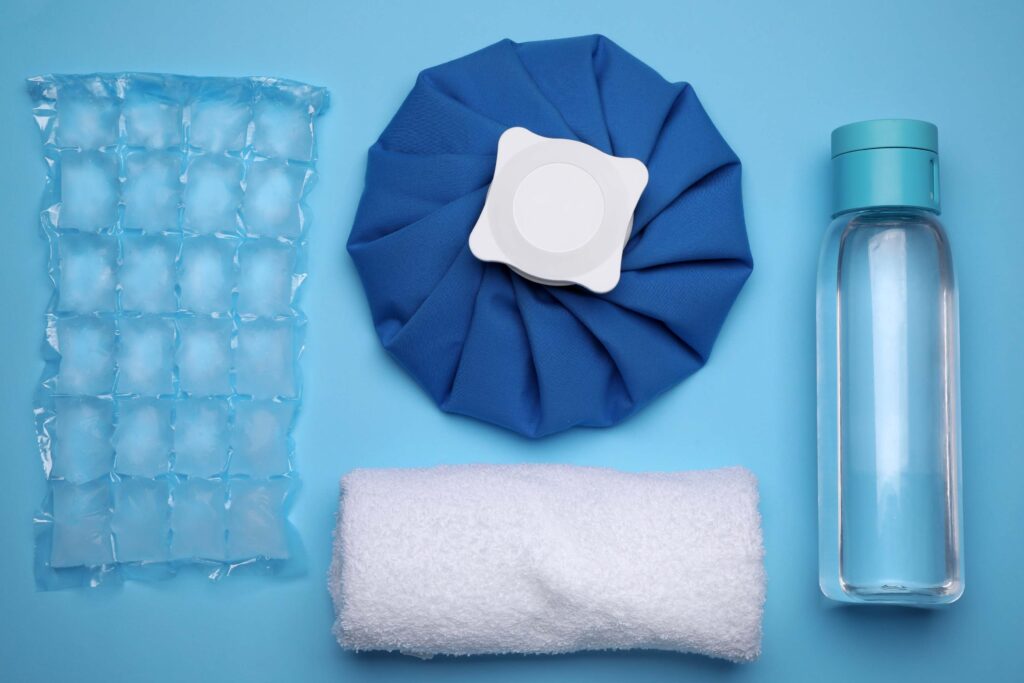
At its core, a cold compress is something cold that you place on a specific area of your body (in this case, nails) to help soothe pain, reduce swelling, or ease discomfort. Think of it like giving a ‘cooling hug’ to your sore or irritated nails.
Why Use a Cold Compress?
The cold sensation helps to:
- Numb the area, reducing the perception of pain.
- Decrease swelling by constricting blood vessels.
- Limit tissue damage by slowing down cell metabolism.
- Provide a calming effect that distracts your brain from the pain or irritation.
How to Make and Use a Cold Compress, Step by Step
Gather Your Materials:
- A clean cloth or towel.
- Ice cubes or a gel ice pack.
- A plastic bag (if you’re using ice cubes).
Making Your Cold Compress:
Using Ice Cubes: –
- Fill a plastic bag with ice cubes.
- Seal the bag.
- Wrap the bag in a cloth or towel.
Using a Gel Ice Pack:
Simply take the gel pack from the freezer (most need to be stored in the freezer to stay cold). – Wrap it in a cloth or towel.
Applying the Cold Compress to Your Nails:
- Positioning: Sit in a comfortable place, preferably where you can easily rest your hand.
- Placement: Hold the wrapped cold compress against your nails or the affected area.
- Duration: Keep it there for a few minutes. It’s essential not to overdo it; you don’t want to risk frostbite! Usually, 15-20 minutes is the max, but since we’re dealing with nails, a few minutes should suffice.
- Rest: Give your nails a break. If you want to reapply the cold, wait for another 15 minutes or until your nails feel back to their normal temperature before doing so.
Bonus Tip for Additional Relief
While the cold compress works its magic on the outside, you can also give your nails a warm, comforting soak. Prepare a solution of warm (not hot) soapy water and mix in some Epsom salt. Dip your nails into this mixture. This technique can provide relief in two ways:
- Warmth: This counters the cold and can soothe any residual discomfort.
- Epsom Salt: Known for its therapeutic properties, it can prevent itching or irritation.
Note: Always ensure the water is warm and not hot. You don’t want to scald your skin.
When NOT to Use a Cold Compress:
If you have circulation problems. Cold can further reduce blood flow.
On open wounds. It’s essential to keep open skin clean and free from contamination.
If you’re allergic to cold (yes, it’s a thing called cold urticaria).
Life has its little hiccups, like that unexpected tightening or pain in your nail beds. But with tools like the cold compress, you’re well-equipped to deal with them. It’s a simple, efficient method to reduce discomfort and can often be made with items readily available at home. Just remember, while it’s a wonderful remedy for minor irritations, if the pain persists or if you suspect a deeper issue, always consult with a professional.
What Kills Nail Fungus Fast? From Home Remedies to Prescription Meds>>
The Magic of Cuticle Oil: A Step-by-Step Guide
Nails are like the crown jewels of our hands, and just like any treasure, they require maintenance. Among the many tools in our nail-care toolkit, cuticle oil stands out as a vital elixir. Why? Well, aside from making our nails look shiny and healthy, it plays a bigger role in preventing pain and warding off those sneaky fungal invaders. Let’s embark on the journey of understanding and using cuticle oil.
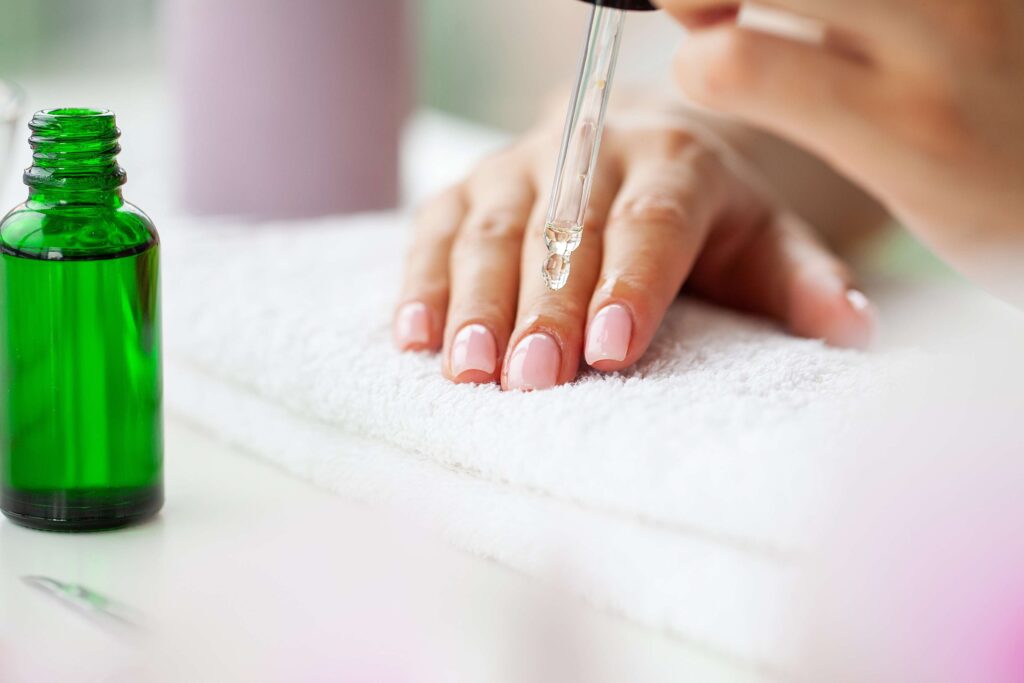
What is Cuticle Oil?
It’s a moisturizing product made up of a mix of oils and often vitamins, specially designed to hydrate the cuticle, that tiny sliver of skin at the base of your nail, and the surrounding nail area.
Why Use Cuticle Oil?
- Moisturization: It keeps the nail and its surrounding skin soft and hydrated.
- Protection: By maintaining a moisturized environment, it reduces the risk of fungal infections. Fungi love dry, damaged nails. Keeping nails moisturized? That’s their kryptonite.
- Healing: If you’ve ever had hangnails or tiny cuts around your nail, cuticle oil can help soothe and repair the area.
- Beauty: Regular application promotes stronger, more flexible nails, preventing them from becoming brittle and breaking.
How to Apply Cuticle Oil:
Start Clean:
Make sure your nails are clean. If you have nail polish on, it’s best to apply the cuticle oil to the base of the nail and surrounding skin.
Get Your Oil Ready:
You can either buy cuticle oil from the store or make a DIY version (more on that in a bit).
Application:
Using the applicator brush or your fingertip, take a small amount of the oil.
Gently massage the oil onto each nail, focusing on the cuticle and surrounding skin.
If you’ve applied a generous amount, let it sit for a few minutes to soak in.
Massage:
Spend a minute or two massaging the oil into each nail. This not only helps absorption but also boosts circulation, promoting nail growth.
Frequency:
For best results, apply cuticle oil at least once a day. If you have very dry nails or live in a dry climate, consider using it twice a day.
For The Night Owls:
Consider applying a generous amount of cuticle oil before bedtime. Wear cotton gloves to seal in the moisture. You’ll wake up with soft, nourished nails.
DIY Cuticle Oil
For those who love a touch of homemade goodness, making cuticle oil at home is a breeze. Here’s how:
Ingredients:
- Jojoba Oil (or almond oil) – Acts as the base and is easily absorbed.
- Vitamin E Oil – Promotes nail strength and healing.
- Lavender Essential Oil (or any other preferred essential oil) – Adds a pleasant scent and has additional therapeutic properties.
Steps:
- Mixing: In a small bottle, mix 2 tablespoons of jojoba oil with a few drops of vitamin E oil.
- Add the Essence: Add 3-5 drops of lavender essential oil.
- Shake: Close the bottle and give it a good shake to mix everything together.
Your DIY cuticle oil is ready to use!
Things to Remember:
- Storage: Store your cuticle oil, especially the DIY version, in a cool, dark place to maintain its effectiveness.
- Sensitivity Test: If you’re trying out a new product or essential oil, always do a patch test on a small section of your skin to check for any allergic reactions.
Cuticle oil is not just a beauty product; it’s a shield and healer for your nails. With a little bottle of this golden liquid, you’re not only ensuring that your nails look beautiful but also that they remain strong, healthy, and free from potential infections. Whether you buy it or make it, the key is regular application. Think of it as feeding your nails their favorite snack every day. Enjoy your journey to radiant nails!
The Wonderful World of Epsom Salt
Ah, Epsom salt! Not your everyday table salt, but a magical crystalline substance that’s been a staple in households for centuries. From aching muscles to garden tricks, it’s a handy product to have around. Let’s embark on a step-by-step exploration of what Epsom salt is, its benefits, and how to use it.
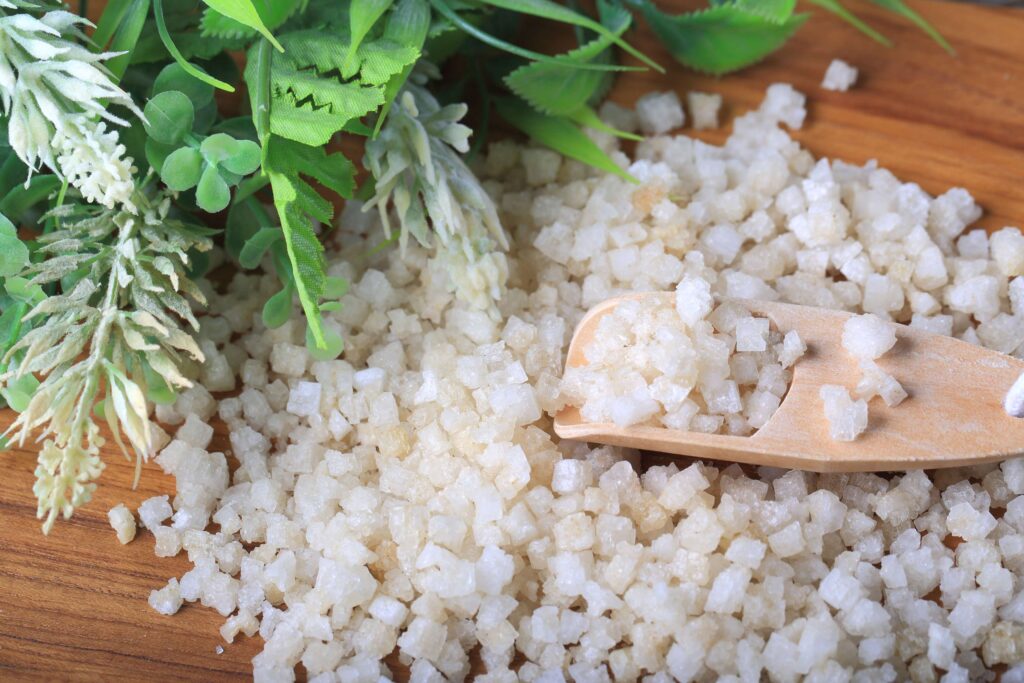
What is Epsom Salt?
Epsom salt, contrary to its name, isn’t the kind of salt you sprinkle on your fries. It’s named after a town in England where it was first discovered in spring water. Scientifically speaking, it’s hydrated magnesium sulfate. In simpler terms? Think of it as a mineral compound made of magnesium, sulfur, and oxygen.
Why Use Epsom Salt?
- Muscle Relief: One of its star benefits is soothing sore muscles. After a tough day or an intense workout, it can help your muscles relax.
- Inflammation Reduction: Got swelling? Epsom salt can help reduce it, providing relief.
- Skin Care: Some folks use it to exfoliate skin or even combat minor acne.
- Gardening Aid: Believe it or not, it can help certain plants grow stronger!
How to Use Epsom Salt for Soreness and Inflammation:
Start with Basics:
Get Your Epsom Salt: You can easily find Epsom salt in drugstores or supermarkets, usually in the health or beauty section.
Preparing an Epsom Salt Bath:
- Fill the Tub: Begin by filling your bathtub with warm water. Make sure it’s a comfortable temperature.
- Add the Magic: For a standard-sized bathtub, sprinkle in about 2 cups of Epsom salt. If you’re using a smaller tub or basin for just your feet or hands, you’ll need less—adjust accordingly.
- Stir it Up: Swirl the water around with your hand to help dissolve the Epsom salt.
Enjoy the Soak:
- Time to Relax: Gently step in and immerse yourself in this mineral-rich bath. If you’re focusing on a specific area, like your feet or hands, ensure they’re adequately submerged.
- Duration: Soak for about 10-15 minutes. This is the sweet spot where the Epsom salt can work its magic, relieving soreness and reducing inflammation.
- Rinse Off: Once you’re done, you might want to rinse off with fresh water to remove any salt residues.
Post-Bath Care:
- Hydrate: Bathing can dehydrate your skin. Drink a glass of water after your soak.
- Moisturize: Apply a moisturizer to keep your skin soft and supple.
Frequency:
You can take an Epsom salt bath 2-3 times a week. However, if you’re pregnant or have any health conditions, it’s best to consult with a healthcare professional first.
A Word on Oral Consumption:
While some people believe in the benefits of consuming Epsom salt, it can have side effects, and it’s crucial to talk to a doctor before ingesting it.
Bonus:
Quick Foot Soak for Sore Feet: If you’ve had a long day and just want a quick relief for your feet:
- Fill a basin with warm water.
- Add a half-cup of Epsom salt.
- Stir until dissolved.
- Dip your feet in and relax for 10-15 minutes.
Storing Your Epsom Salt:
Keep your Epsom salt in a cool, dry place. Moisture can cause it to clump up, so ensure the bag or container is sealed tight.
Epsom salt is one of those old-time remedies that has stood the test of time. Its benefits are vast, and its uses are diverse. When it comes to soreness and inflammation, few things provide as simple and effective relief as a warm Epsom salt soak. So, the next time you feel those aches, pains, or swellings, remember the magic crystals in your cabinet. Turn on some calming music, prepare your bath, and let Epsom salt whisk away your discomfort. Enjoy your soak!
Taking the Plunge: A Step-by-Step Guide to Safely Removing Acrylic Nails
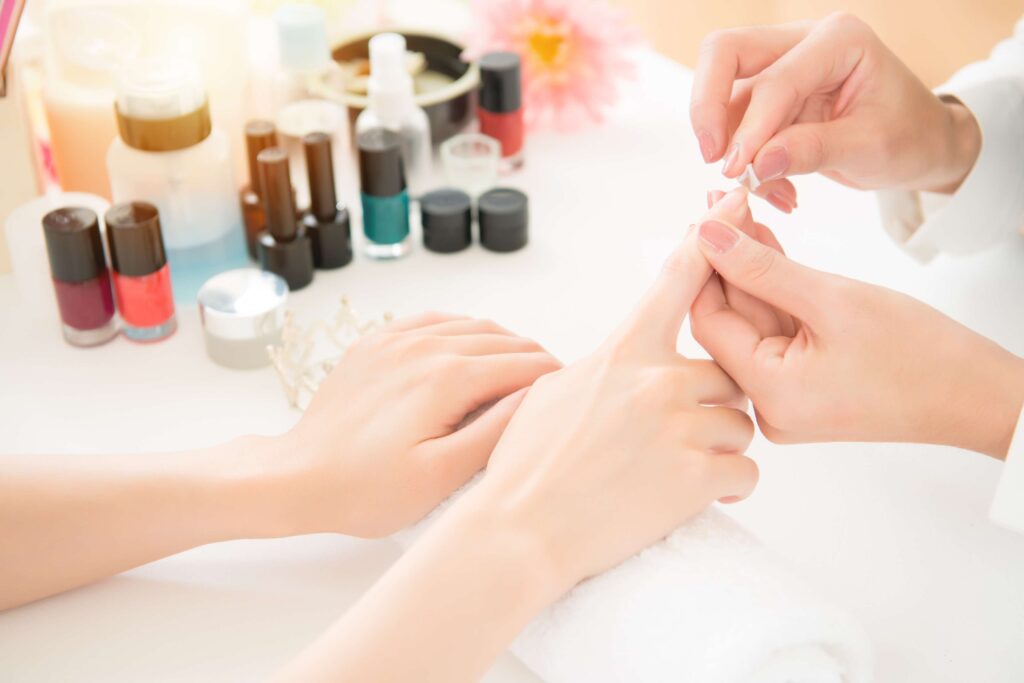
Acrylic nails are beautiful, aren’t they? They add that touch of glam to your hands, making you feel like you’ve just stepped out of a fashion magazine. But there comes a time when these pretty nails start to feel tight, or maybe there’s an accidental trauma, and they begin to hurt. Fear not! If you’re thinking of parting ways with your acrylic nails, this guide will safely navigate you through the process.
Understanding Acrylic Nails:
First, a quick brief: Acrylic nails aren’t your natural nails. They’re made of a mix of liquid monomer and a powder polymer, which harden as they’re exposed to the air. This makes them strong and durable, but it also means they can’t be removed easily without some assistance. (1)
Tools You’ll Need:
- Acetone: This is the magic liquid that dissolves acrylic nails.
- Cotton balls or pads.
- Aluminum foil.
- A nail clipper.
- A nail file or buffer.
- Cuticle oil or moisturizer.
- A small bowl.
Step-by-Step Acrylic Nail Removal
Preparation:
Safety First: Ensure you’re in a well-ventilated room. Acetone has strong fumes.
Trim the Length: Using a nail clipper, trim down your acrylic nails as short as possible. This makes the removal process quicker.
Filing Down the Top Coat:
With your nail file, gently buff the surface of each nail. This helps break down the shiny top layer and allows the acetone to penetrate better.
Acetone Magic:
- Drench the Cotton: Take a cotton ball or pad and soak it in acetone.
- Place and Wrap: Place the soaked cotton on an acrylic nail and wrap the nail with a piece of aluminum foil. This keeps the cotton in place and also traps the heat, making the acetone work faster.
- Repeat for All Nails: Do this for each of your acrylic nails.
- Soak Time: Sit back and relax for about 20-30 minutes. Put on some music or a TV show to pass the time.
Checking & Removing:
After the soaking time, gently unwrap the aluminum foil from one nail. The acrylic should be soft and have a gel-like consistency.
Gently push off the softened acrylic using a cuticle stick. If you find resistance, don’t force it. Instead, re-soak the nail with more acetone for another 5-10 minutes.
Clean and Buff:
Once all the acrylic is removed, you might notice some residue on your nails. Gently buff your natural nails to smooth them out.
Rehydrate and Nourish:
Acetone can dry out your nails and the surrounding skin. Wash your hands thoroughly and then apply a generous amount of cuticle oil or moisturizer to replenish the moisture.
The No Acetone Challenge:
Thinking of avoiding acetone? Here’s the deal—there are non-acetone nail polish removers available, but they don’t work as effectively on acrylics. Another method is to soak your nails in warm soapy water and gently file down the acrylic, but this is more time-consuming and may not be as effective.
Professional Touch
If you’re apprehensive about doing this at home or if it’s your first time, consider going to a salon. Professionals have the right tools and expertise to ensure the removal process is safe and efficient. The cost might be a bit higher, but the peace of mind could be worth it.
While acrylic nails are a beautiful accessory, they’re not permanent, and there will come a time to bid them goodbye. Whether you choose the DIY route or opt for a salon service, the key is patience. Never force or bite off the acrylic. With gentle care and the right steps, you can safely return to your natural nails, ready for whatever comes next in your nail adventure!
Caring for Your Natural Nails After Acrylics: A Step-by-Step Guide
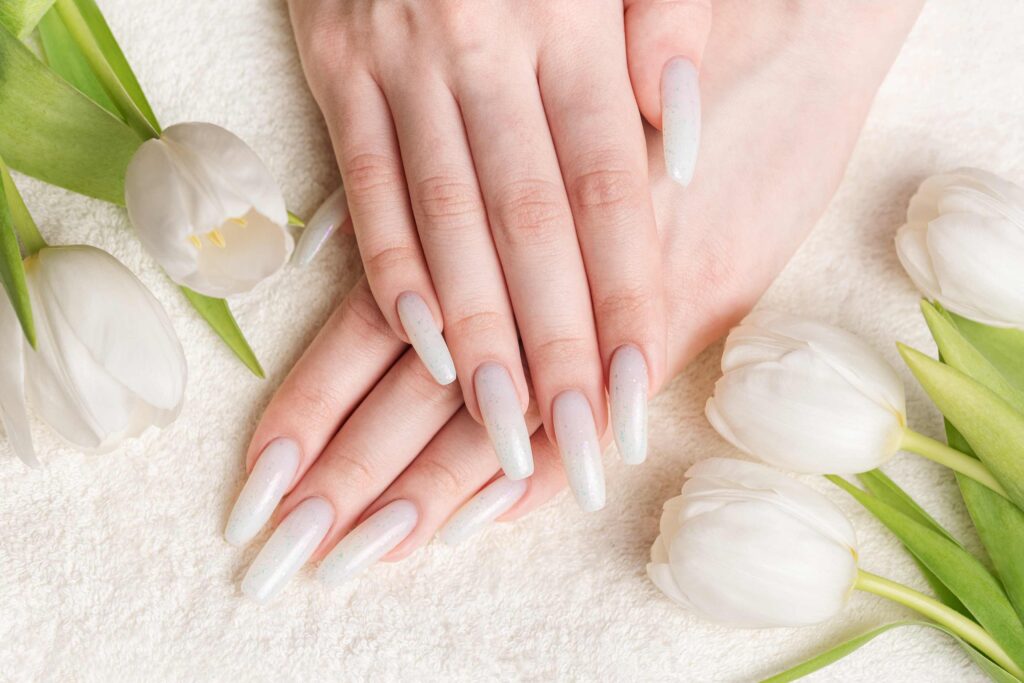
Rocking those glamorous acrylic nails feels great, right? But beneath that beautiful façade, your natural nails may be craving some TLC, especially after the acrylics come off. Here’s a comprehensive, easy-to-follow guide to care for and pamper those real nails of yours:
- Understand Your Nails’ Needs: Your nails, like every other part of your body, require attention. Especially after they’ve been under acrylics, they might be more vulnerable, a little brittle, or dehydrated. Recognizing this need is step one.
- Hydrate, Hydrate, Hydrate: Acrylic application can dehydrate your nails. Restoring this lost moisture is essential.
Cuticle Oil Magic: Apply cuticle oil to your nails and the surrounding skin every night. This nourishes the nails from the root, promoting healthier growth. Don’t have cuticle oil? No worries! Coconut oil or olive oil can be a handy substitute.
Moisturizing Lotion: Whenever you wash your hands, follow it up with a moisturizing hand lotion to keep your nails and hands soft and hydrated.
Warm Soak for Soreness:
- Prepare Your Soak: Mix warm (not hot) water with a bit of Epsom salt in a bowl. Ensure the water is comfortable to touch.
- Dive In: Place your fingers in this solution for about 10-15 minutes. This not only relieves soreness but also cleans and nourishes your nails.
- Pat Dry: After your soak, dry your hands and nails thoroughly with a soft towel.
Safe Acrylic Removal: If you’re still wearing your acrylics and they’ve started to grow out or lift, don’t pick at them! This is a recipe for damage.
Professional Help: The safest route to bid adieu to your acrylic nails is by visiting a skilled nail technician. They’re trained to remove acrylics without harming your natural nails.
At-Home Removal: If you’re doing it at home, follow a safe removal process. Soak the nails in acetone, and avoid ripping or forcefully pulling them off.
Maintain a Regular Nail Regimen:
- Trim & File: Keep your nails at a manageable length to avoid accidental breaks or chips. Use a nail clipper and a gentle file to shape your nails as you desire. When filing, move in one direction to prevent splitting.
- Cuticle Care: Use a cuticle pusher to gently push back your cuticles. Remember, never cut them, as they act as a protective barrier against bacteria.
- Nail Strengtheners: Consider using a nail strengthener or a clear nail polish fortified with vitamins to give your nails an added layer of protection.
Beware of Allergic Reactions:
Sometimes, certain products used during the acrylic nail process might not agree with your skin.
Signs to Look For: Redness, itching, or any discomfort around your nails can be warning signs.
Consultation: If you notice these symptoms, it’s wise to consult with a dermatologist or your nail technician. They can provide guidance, recommend alternative products, or even treatments if necessary.
Give Them a Breather: Every once in a while, give your nails a break from any artificial enhancements. Let them breathe, grow, and naturally repair themselves. During this break, continue moisturizing and avoid using harsh chemicals on them.
Balanced Diet for Healthy Nails: Your nails reflect your overall health. Incorporate foods rich in biotin (like eggs, nuts, and whole grains), protein, and omega-3 fatty acids. Drinking ample water is equally crucial.
Protect Your Nails: When doing house chores that involve water or chemicals (like washing dishes or using cleaning agents), wear gloves. This protects both your hands and nails from drying agents and potential damage.
Your natural nails are like precious jewels; with the right care, they can shine brilliantly on their own. While acrylics offer a temporary style statement, the real beauty lies in healthy, well-maintained natural nails. With this guide in hand, embark on a journey to nurture, protect, and celebrate your very own natural nails.
Frequently Asked Question
Is it normal for acrylic nails to hurt the first day?
“So, you’ve just got your nails done and they’re looking fabulous, but they’re feeling a little sore? Don’t worry too much; it’s pretty common. Think of it like wearing a brand-new hat that’s a bit too tight. At first, it might press on your head a bit, but eventually, it loosens up. In the same way, when you first get acrylic nails, your natural nails are getting used to the added weight of the acrylics on top of them. This can cause a bit of a tight or sore feeling.
Your real nails are probably saying, “Hey! What’s this new thing on top of us?” But after a day or two, they start getting the hang of it. They begin to adjust and get comfortable with the acrylics. The snug feeling and any soreness typically start to fade away.
However, if after a few days, the soreness doesn’t go away or gets worse, that might be a sign to check back in with the salon. It could be that the acrylics were applied a little too tightly, or there might be another issue that needs fixing.
In a nutshell, feeling a bit of discomfort on the first day or two after getting acrylic nails? Totally normal. But if it continues for longer, it might be worth getting them checked out. Your nails should look and feel great!”
How long does it usually take for acrylic nail pain to subside?
“Got new acrylic nails and they’re feeling a bit sore? No worries! When you first get acrylics, it’s like giving your nails a new backpack to carry. They might feel a little weighed down and tight initially. But give it some time, usually just a few days, and this feeling should ease up as your nails get used to their new ‘backpack’.
However, if after those few days the discomfort’s still hanging around or even getting worse, it’s like your backpack’s zipper is caught or something’s not quite right. That’s when you might want to pop back to the nail salon. A professional there can take a look, adjust things if needed, and make sure your nails are happy and comfy again. In short, a little discomfort at the start is normal, but if it hangs around too long, best to get it checked out!”
How to soothe sore nails after acrylic removal?
Alright, so you’ve just said goodbye to your acrylic nails, and now your natural nails feel a bit tender, almost like they’ve just woken up from a long nap. Here’s what you can do to make them feel better:
- Pamper Them: Your nails have been under the acrylics for a while, and now they’re feeling a bit dry and vulnerable. Think of them like your skin after a day in the sun. What do you do? You moisturize, right? Similarly, treat your nails to some nice cuticle oil. It’s like giving them a mini spa day. This oil will help hydrate and nourish them.
- Moisturize Your Hands: Now, while you’re at it, don’t just stop at the cuticle oil. Take a good hand cream and moisturize your entire hand, including your nails. It’s like giving a drink to someone who’s super thirsty.
- Eat Right: Just like eating healthy can make your hair and skin look better, it can also help your nails. Foods that have biotin (like eggs, nuts, and seeds) and omega-3 (like fish, flaxseeds, and walnuts) are like superheroes for your nails. They can help your nails get stronger and healthier from the inside out.
In a nutshell, after you’ve taken off your acrylics, your natural nails might need a bit of TLC. It’s a bit like taking off tight shoes after a long day. Your feet need some care and pampering, and so do your nails. Give them the love they deserve, and they’ll bounce back feeling and looking great in no time!”